Let's discover in this tutorial a simple way of setting up Django to allow multitenancy.
Have you noticed how some webapps provide dedicated subdomains for each of their customers?
For example a SaaS product might offer to their customers something like: the-awesome-org.saasproduct.com.
Multitenancy means offering the same web application to different customers while keeping data isolated.
A social network is not a multitenant application because it doesn't provide data isolation. The users on the social network share the same data.
Frequently Asked Questions
Types of multitenant applications
There are several types of multitenant web applications, each with its pros and cons:
- Row-Level Multitenancy: - Basically store data in the same database and make sure the isolation is enforced at application level
- Schema-Level Multitenancy: - Store data in the same database but in different schemas
- Database-Level Multitenancy: - Store data in different databases
As you can properly guess, the Row-Level Multitenancy setup provides the least isolation while the Database-Level Multitenancy provides the stronger. Unfortunately, the better the isolation the harder the application maintenance gets.
As you can properly guess, the Row-Level Multitenancy setup provides the least isolation while the Database-Level Multitenancy provides the stronger. Unfortunately, the better the isolation the harder the application maintenance gets.
For many non-enterprise level application, the Row-Level Multitenancy model is enough. In this tutorial we will build two mechanisms for facilitating data isolation:
- Tenant Selection: - A way of selecting the current tenant based on the hostname
- Data Ownership: - A way of querying data such that we only provide results belonging to the current tenant
Initial Django Multitenant Application Setup
Let's work around a TodoList application in this tutorial. Suppose we have these models:
1 2 3 4 5 6 7 8 9 10 11 12 13 14 15 16 17 18 19 20 21 22 23 24 25 26 | from django.db import models # Create your models here. class TodoList(models.Model): name = models.CharField(max_length=100) def __str__(self): return self.name class TodoListItem(models.Model): list = models.ForeignKey( TodoList, related_name="items", on_delete=models.CASCADE ) title = models.CharField(max_length=100) description = models.TextField(blank=True) order = models.IntegerField() def __str__(self): return f"{self.list.name}:{self.title}" class Meta: ordering = ('order', ) |
We also have this simple view:
1 2 3 4 5 6 7 8 | from django.shortcuts import render from.models import TodoList def index(request): todo_lists = TodoList.objects.all() return render(request, "todo/index.html", {"todo_lists": todo_lists}) |
That renders this simple template:
1 2 3 4 5 6 7 8 9 10 11 | <!DOCTYPE html> <html lang="en"> <head> <meta charset="UTF-8"> <title>Title</title> </head> <body> </body> </html> |
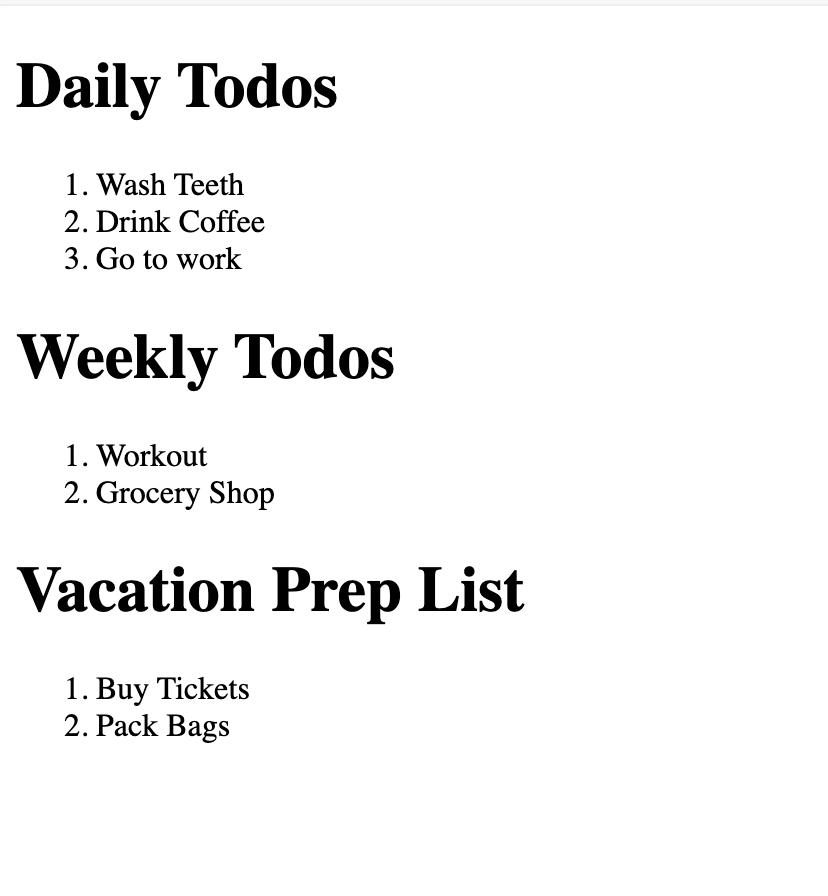
I created a few models in the Django Admin so that we have something to work with. Here's how our web page looks like:
Setting up Multitenancy
Let's now transform this simple application into a multitenant one.
Setting up different subdomains
First, in order to have different subdomains on our local development environment, we need to edit /etc/hosts.
Add the following 2 entries to the end of the file:
1 2 3 | # ... 127.0.0.1 greywolf.local 127.0.0.1 orangefox.local |
If you head over to these addresses in your browser you should see the same page as before. Let's now go a step forward and distinguish between tenants.
Setting up tenants
Let's create a simple Tenant model:
1 2 3 4 5 6 | class Tenant(models.Model): name = models.CharField("Tenant Name", max_length=100) subdomain = models.SlugField("Subdomain") def __str__(self): return self.name |
Make sure you run python manage.py makemigrations and python manage.py migrate.
Register the new model in admin.py.
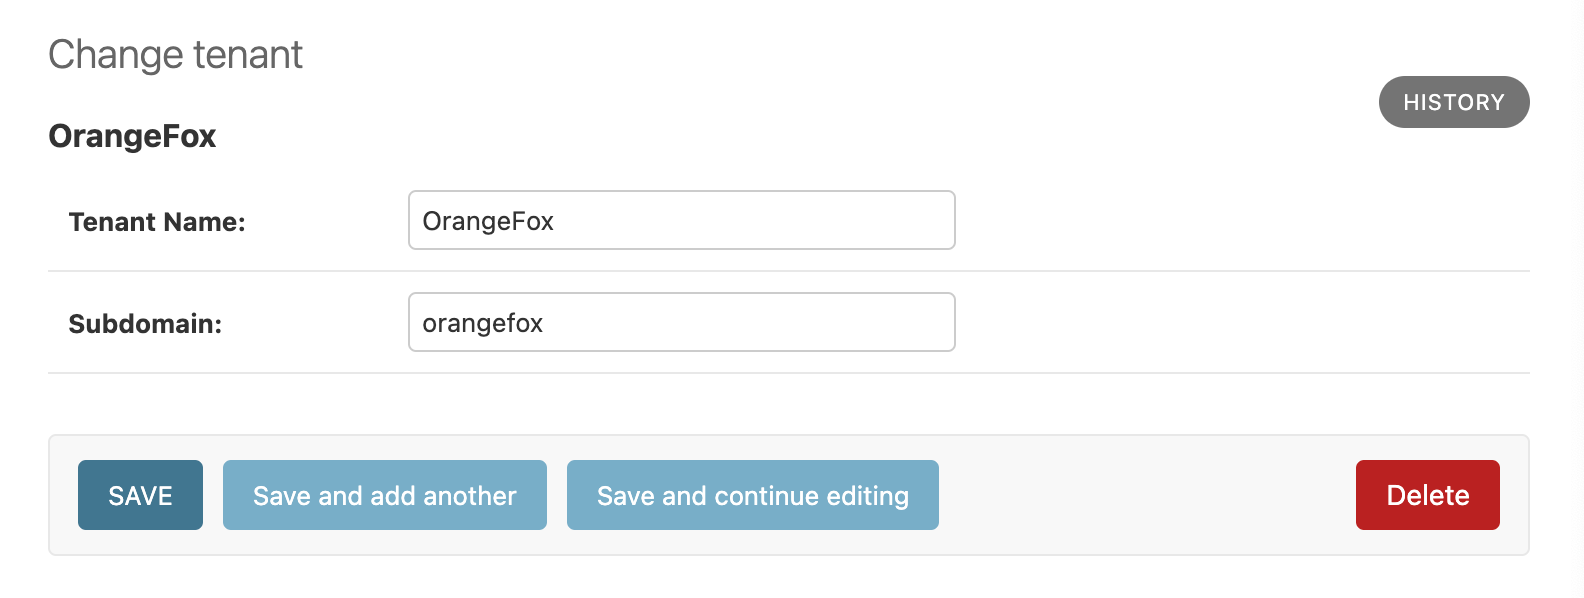
Go into admin and create 2 Tenant models corresponding to the 2 domains we registered in out /etc/hosts.
Middleware for selecting current tenant
We need a way to distinguish between the tenants by looking at the hostname.
We can get the hostname from the HttpRequest object and then get the associated tenant with the hostname.
This code needs to run on all requests coming into our application. The second desirable quality of this piece of code would be to provide a place for accessing the current tenant from everywhere in the application. For this we will use a trick: Thread local variables.
The best place for this code, is of course, in a middleware component.
Let's write it in middleware.py:
1 2 3 4 5 6 7 8 9 10 11 12 13 14 15 16 17 18 19 20 21 22 23 24 25 26 27 28 29 30 31 32 33 34 | import threading from tenants.models import Tenant _local = threading.local() class TenantMiddleware: def __init__(self, get_response): self.get_response = get_response def __call__(self, request): _local.request = request host = request.get_host() subdomain = host.split(".")[0] try: request.tenant = Tenant.objects.get(subdomain=subdomain) except Tenant.DoesNotExist: request.tenant = None response = self.get_response(request) return response @staticmethod def get_current_request(): return getattr(_local, 'request', None) @staticmethod def get_current_tenant(): request = TenantMiddleware.get_current_request() if not request: return None return request.tenant |
Don't forget to register the middleware component in settings.py:
1 2 3 4 5 6 7 8 9 10 | MIDDLEWARE = [ 'django.middleware.security.SecurityMiddleware', 'django.contrib.sessions.middleware.SessionMiddleware', 'django.middleware.common.CommonMiddleware', 'django.middleware.csrf.CsrfViewMiddleware', 'django.contrib.auth.middleware.AuthenticationMiddleware', 'django.contrib.messages.middleware.MessageMiddleware', 'django.middleware.clickjacking.XFrameOptionsMiddleware', 'tenants.middleware.TenantMiddleware', # <-- ] |
If you add a debug print and head over to your browser (if you used the same domains as me: greywolf.local and orangefox.local), you should see how the tenant attribute on the request object changes.
Setting up TenantOwnedModel
We now need to mark those models that belong to a tenant, and we also need a way of querying these models, preferably without explicitly filtering by tenant every time. This is perfect scenario for overriding the default QueryManager and for using Abstract Models:
1 2 3 4 5 6 7 8 9 10 11 12 13 14 15 16 17 18 19 20 | class TenantOwnedManager(models.Manager): def get_queryset(self): from tenants.middleware import TenantMiddleware tenant = TenantMiddleware.get_current_tenant() if tenant is None: return super().get_queryset() return super().get_queryset().filter(owner=tenant) class TenantOwnedModel(models.Model): owner = models.ForeignKey( Tenant, on_delete=models.CASCADE, null=True, blank=True ) objects = TenantOwnedManager() class Meta: abstract = True |
By using the abstract = True flag, we instruct Django not to create a table in the database.
This model will only be used as a base for other models.
Notice how we got the current tenant using the TenantMiddleware class we created.
If we've got such a tenant we filter the current QuerySet by owner.
Let's get back to out initial TodoList and TodoListItem models and have them extent the TenantOwnedModel:
1 2 3 4 5 6 7 8 9 10 11 12 13 14 15 16 17 18 19 20 21 22 23 24 25 26 | from django.db import models from tenants.models import TenantOwnedModel class TodoList(TenantOwnedModel): name = models.CharField(max_length=100) def __str__(self): return self.name class TodoListItem(TenantOwnedModel): list = models.ForeignKey( TodoList, related_name="items", on_delete=models.CASCADE ) title = models.CharField(max_length=100) description = models.TextField(blank=True) order = models.IntegerField() def __str__(self): return f"{self.list.name}:{self.title}" class Meta: ordering = ('order', ) |
Make sure you run python manage.py makemigrations and python manage.py migrate.
Go into admin and assign the TodoList and TodoListItem objects some owners.
Let's check our pplication again by visiting the two domains we've set up:
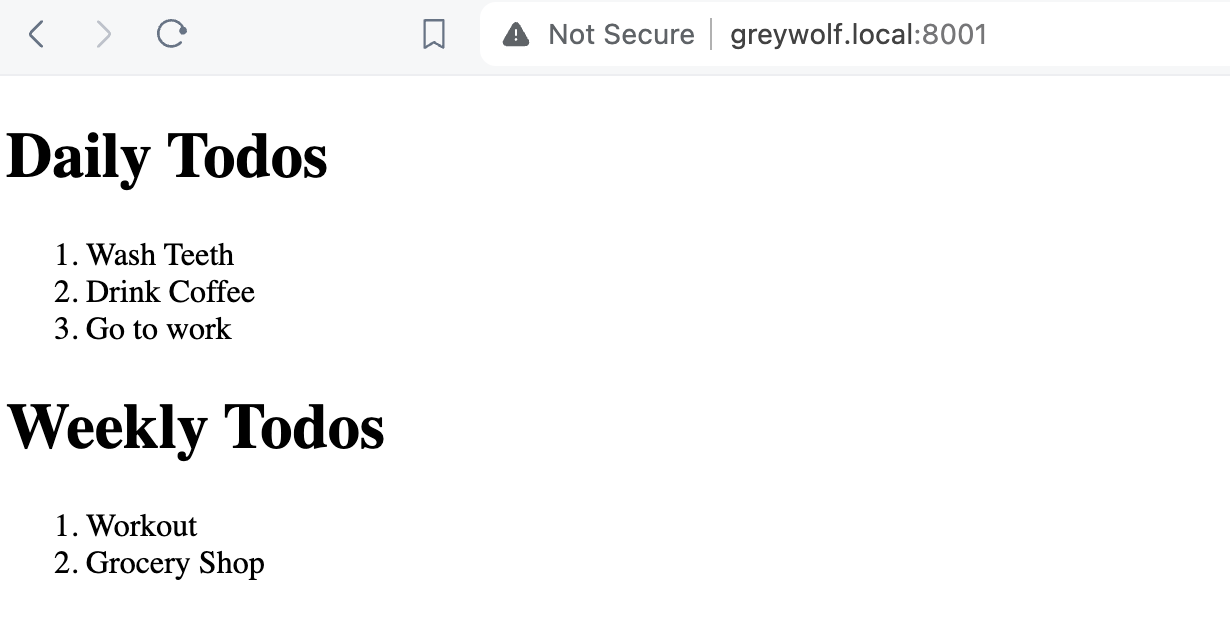

Success! The data has been correctly separated between the two tenants.
In this tutorial we implemented Row-Level Multitenancy in Django. We’ve created a nice and simple way to serve multiple tenants in a single application. By using a middleware component for the tenant selection ensures that every request is tenant-aware. Extending an AbstractModel for assigning ownership we've made it easy to associate data with a tenant. This approach allows for simple data separation while keeping the codebase nice and clean.
